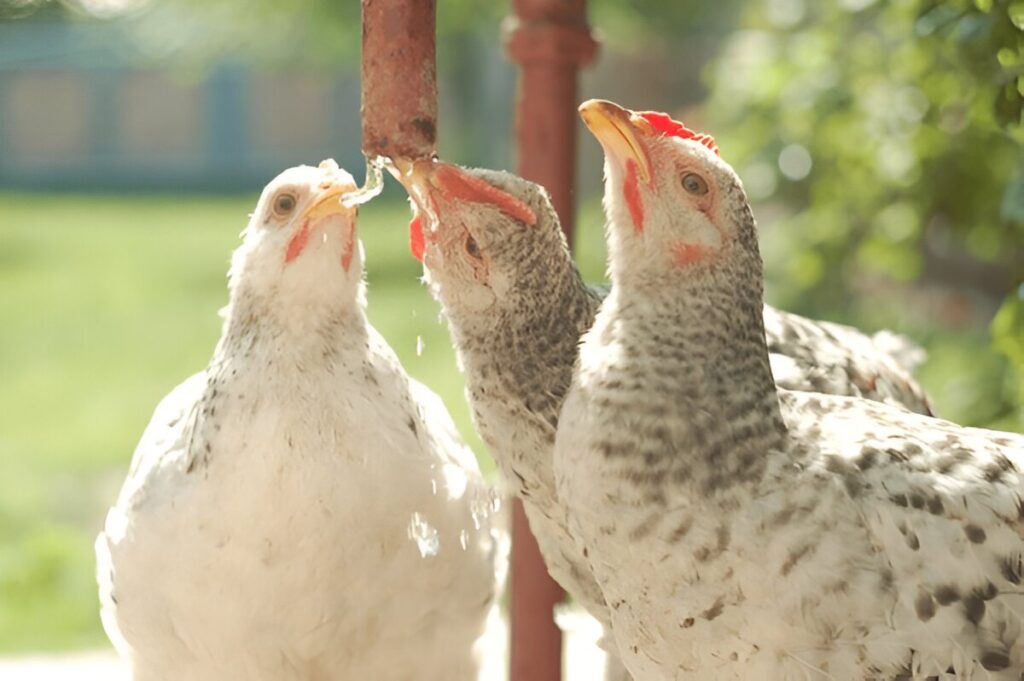
Tired of constantly refilling chicken water dishes? A DIY chicken waterer could be your perfect solution.
Building your own watering system saves money and ensures your flock stays hydrated with less daily work on your part.
Let’s explore simple waterer designs you can create using everyday items.
Why Make Your Own Chicken Waterer?
Store-bought waterers work fine, but homemade versions offer clear advantages:
They’re cheaper. Commercial waterers can get expensive, especially larger models. DIY versions typically cost just a few dollars using materials you might already have.
You can customize them. When you build your own, you can design it specifically for your coop setup, flock size, and local weather conditions.
It’s eco-friendly. Many designs repurpose items that might otherwise be thrown away, like plastic buckets or bottles.
They grow with your flock. Homemade waterers can be easily scaled up or down depending on how many chickens you have.
What Makes a Good Chicken Waterer?
Any waterer worth building should:
- Keep water clean and free from debris
- Hold enough water to last at least a day
- Be easy to take apart and clean
- Work in all seasons (or have seasonal versions)
- Allow chickens to drink easily without making a mess

Simple DIY Chicken Waterer Designs
1. The Bucket Waterer
This design is popular because it’s so simple and effective.
You’ll need:
- 5-gallon food-grade bucket with lid
- 2-4 chicken nipple valves
- Drill
- Teflon tape (optional)
To build it:
- Clean the bucket thoroughly
- Mark spots for nipple valves around the bottom edge, about 1-2 inches up
- Drill holes at your marks
- Screw the nipple valves into the holes
- Fill with water, put on the lid, and flip it onto a stand
This works through gravity pressure. The nipples only release water when chickens peck at them, keeping everything relatively dry.
2. PVC Pipe Waterer
This horizontal design can be mounted to the side of a coop or run.
You’ll need:
- 3-4 foot length of 3-inch PVC pipe
- Two end caps
- 4-6 chicken nipple valves
- PVC cement
- Drill
To build it:
- Cut PVC pipe to your desired length
- Drill holes along the bottom, spaced about 8-10 inches apart
- Install nipple valves in the holes
- Cement one end cap permanently
- Use the second end cap as a removable fill cap
- Mount horizontally with a slight downward slope
This works well for larger flocks. The slight slope helps prevent stagnant water.
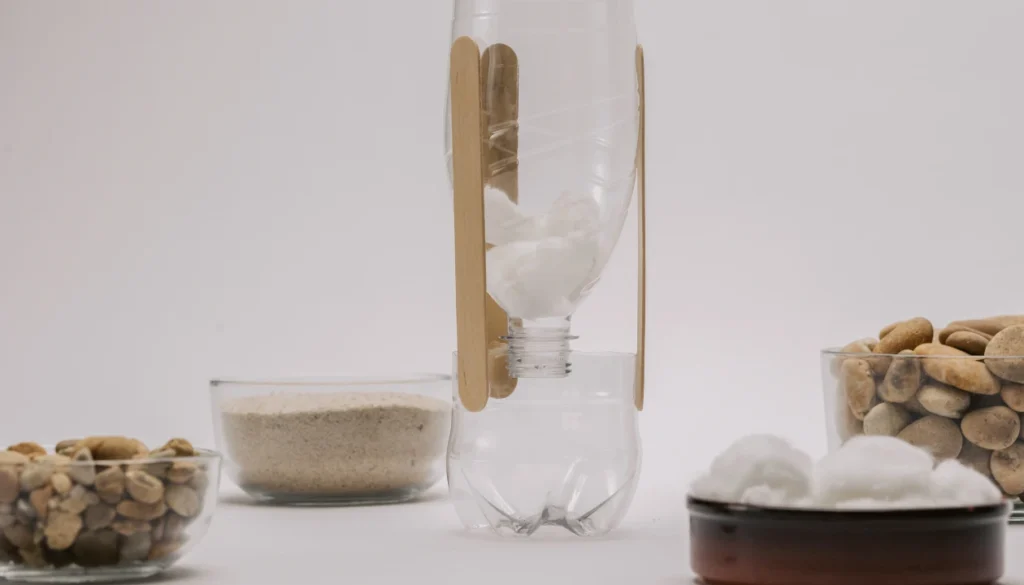
3. Water Bottle Waterer
Perfect for small flocks or as a backup water source.
You’ll need:
- Large plastic water bottle (1-2 liters)
- Shallow plastic container (like a plant saucer)
- Knife or scissors
To build it:
- Clean the bottle thoroughly
- Cut small holes (about 1/4 inch) near the mouth of the bottle
- Fill the bottle completely
- Quickly flip it and place it in the container
The water maintains at the level of the holes through vacuum pressure. Simple but needs frequent refilling.
Advanced DIY Chicken Waterer Systems
Ready for something more sophisticated? Try these:
4. Automatic Refill System
This connects to a water line for continuous refilling.
You’ll need:
- Large food-grade container (20+ gallons)
- Float valve (like a toilet mechanism)
- Water supply line
- Chicken nipple valves
- Various plumbing fittings
To build it:
- Install the float valve in your container
- Connect to your water supply
- Install nipple valves for the chickens to drink from
- Test to ensure the float valve works properly
This requires more plumbing knowledge but eliminates daily refilling entirely.
5. Rain Collection Waterer
An eco-friendly option that uses rainwater.
You’ll need:
- Rain barrel or large container
- Gutter diverter
- Mesh filter
- Distribution system (pipes and nipples)
To build it:
- Position the barrel to collect roof water
- Install a filter to remove debris
- Connect to your distribution system
- Add an overflow valve for heavy rain
This reduces water costs while providing chemical-free water.
6. Solar-Heated Waterer
For cold climates, this uses passive solar heating to prevent freezing.
You’ll need:
- Dark-colored water container
- Insulation materials
- Clear plastic or glass cover
- Standard waterer components
To build it:
- Use a black or dark container
- Create an insulated housing with a clear panel facing south
- Position to receive maximum sunlight
- Connect your preferred drinking system
This keeps water from freezing during moderate cold spells without electricity.
Troubleshooting Common Issues
Leaking Nipples
If your nipples drip constantly:
- Check they’re installed tightly
- Apply Teflon tape to threads
- Replace damaged nipples
- Reduce water pressure in automatic systems
Freezing in Winter
To prevent freezing:
- Add a submersible aquarium heater to larger containers
- Wrap exposed sections with heat tape
- Use black containers in sunny spots
- Add a heated base under bucket systems
Algae Growth
To prevent algae:
- Clean weekly
- Keep in shade when possible
- Add a tablespoon of apple cider vinegar per gallon
- Use opaque containers that block light
Maintenance Tips
Keep your system running smoothly:
- Clean weekly
- Check nipples and valves during each refill
- Deep clean monthly to prevent biofilm
- Look for cracks or damage
- Adjust height as your chickens grow
FAQ About DIY Chicken Waterers
How much water do chickens need daily?
About 1 pint to 1 quart per chicken, more in hot weather.
Can chickens figure out nipple waterers?
Yes, most learn quickly. Put a drop of water on each nipple initially to show them how they work.
How high should I mount my waterer?
Position nipples about 4-6 inches above your chickens’ backs so they stretch slightly upward to drink.
Is apple cider vinegar safe to add?
Yes, about 1 tablespoon per gallon is safe and can help prevent algae. Don’t use it in metal containers though.
What’s best for winter?
Bucket waterers with base heaters work well, as do black containers positioned in sunlight with good insulation.
Ready to Build Your Own?
Creating a DIY chicken waterer isn’t just cost-effective—it’s satisfying to build something functional for your flock.
Remember, the best design is one that fits your specific situation. Feel free to mix and match elements from different designs until you find what works for you.
Have questions or want to share your successful design? Reach out through our contact page, We’d love to see what you create!